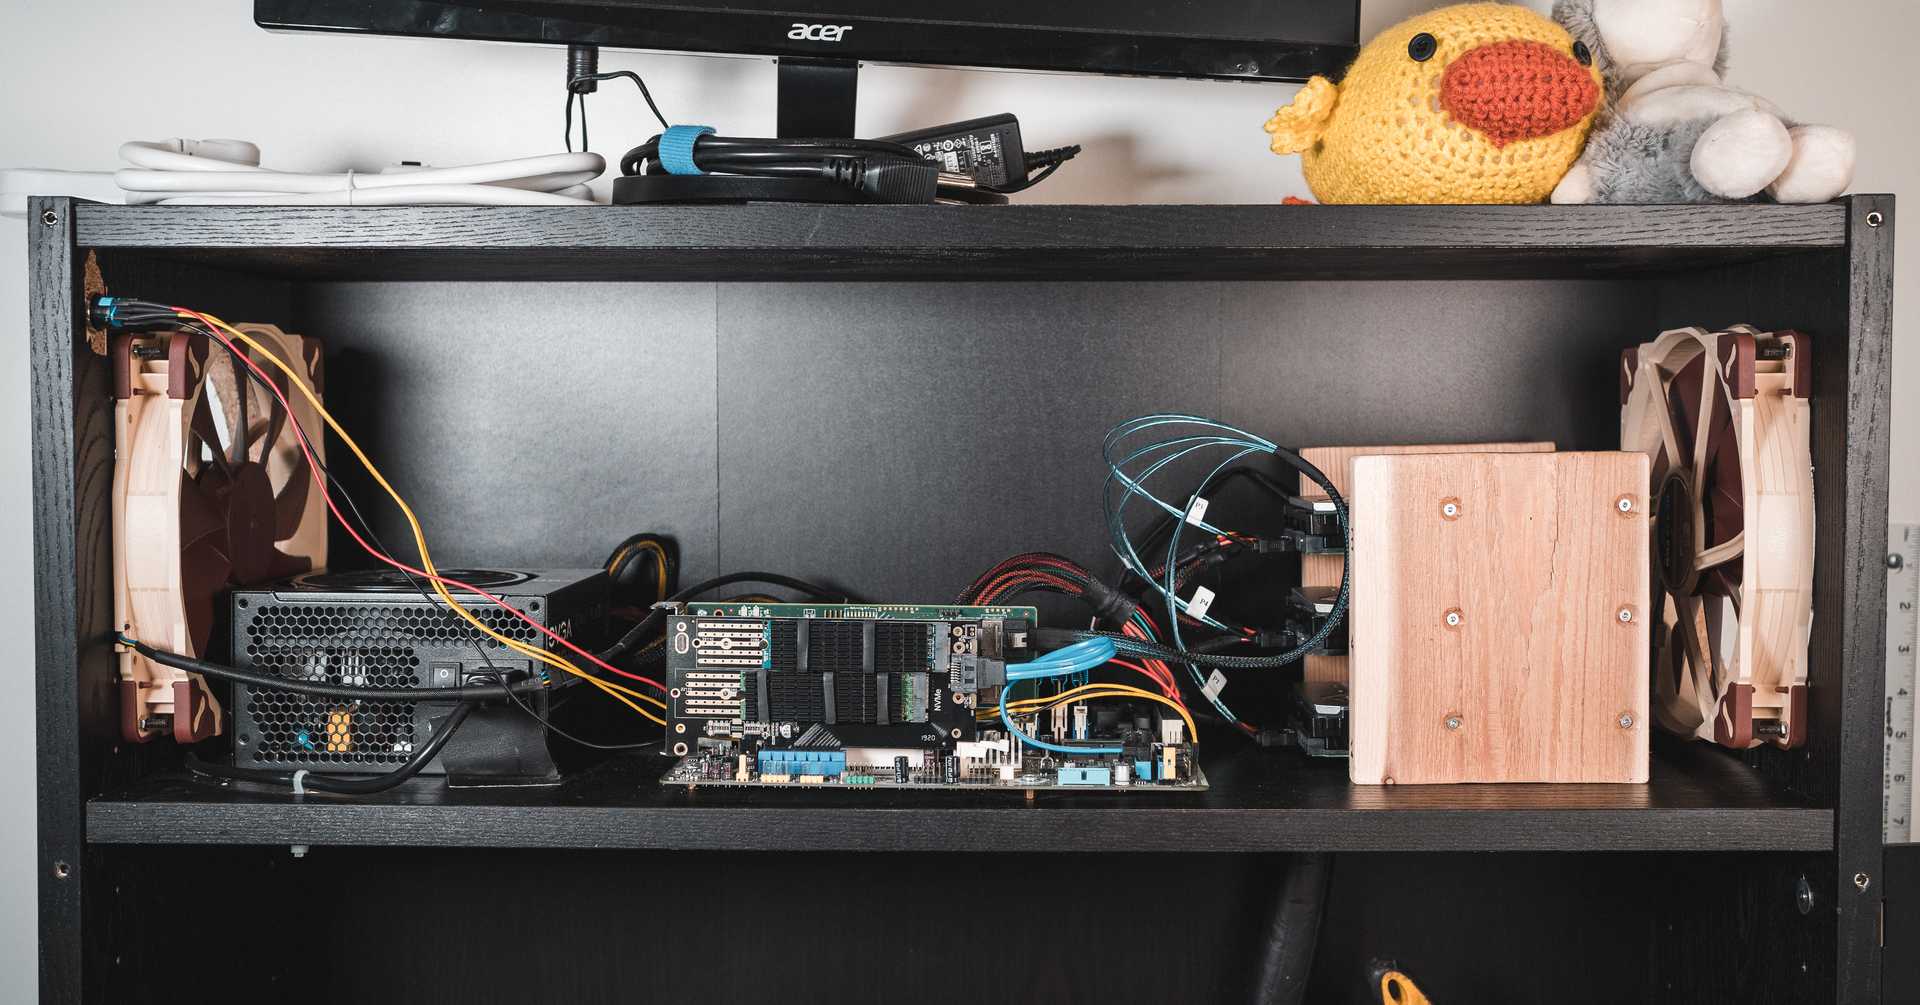
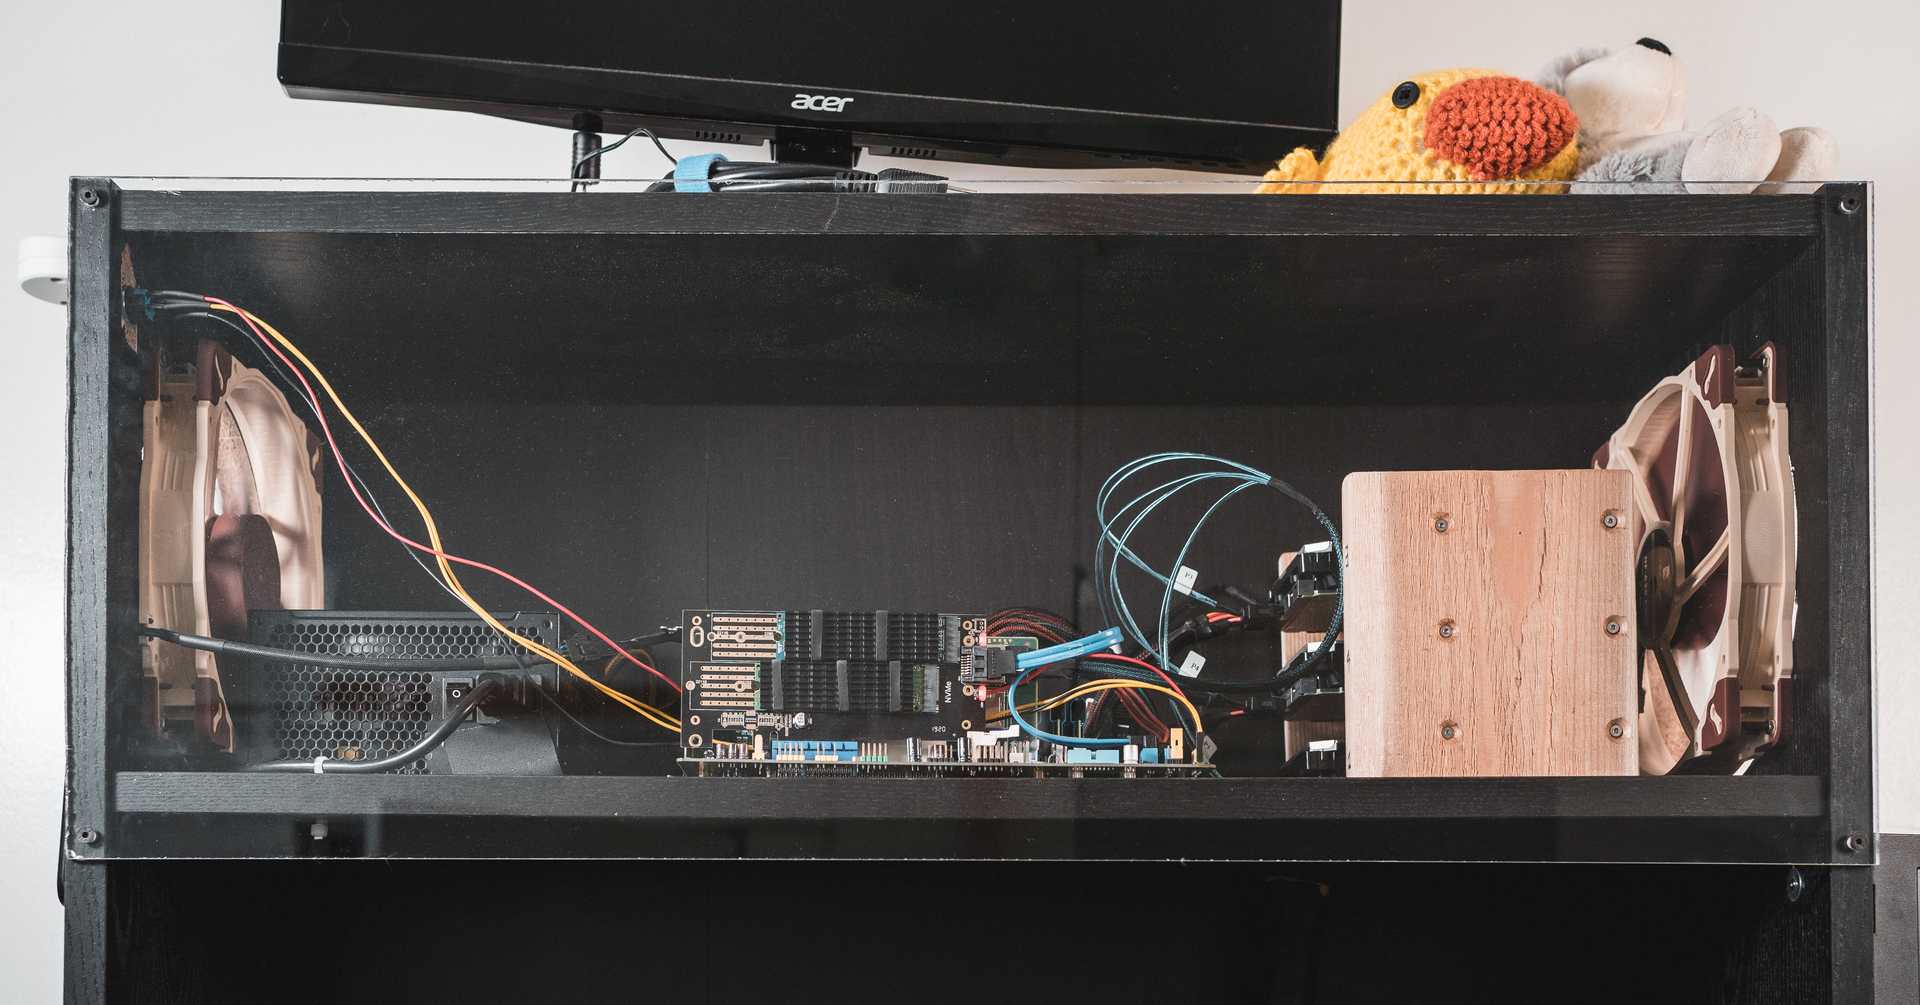
The finished product with the front panel off
Some might call me a data hoarder. I have tons of documents, project files, music, recorded audio and video, and, perhaps most noteworthy, many terabytes of RAW photos. I try to limit my usage by deleting bad or near-duplicate photos when I import as well as regularly use ncdu or something like WinDirStat (for Windows) to see what's taking up disk space and remove if necessary.
It's still bad.
Weighing the options
I recently switched pc cases from a big 'ol NZXT H440 with 11 3.5" drive bays to the much smaller Evolv Shift, which only has 1 3.5" bay. I love it, but I can no longer get away with just stuffing a bunch of 1-2TB drives in my desktop.
I resigned myself to external storage. My first idea was to get something like the
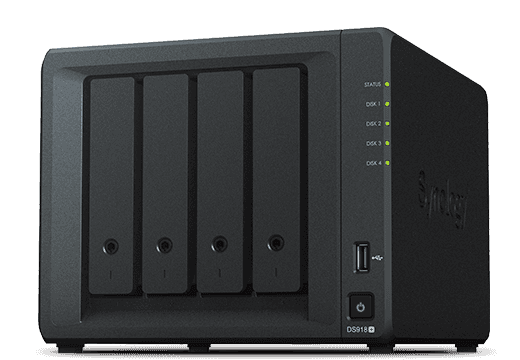
Synology DS918+, which has 4 drive bays, dual ethernet, and many advanced NAS features. My only issue is that it's over $500 without any drives included. This still seems like the best option to me if you have the cash to spend, but I do not. My next idea was to simply get several external hard drives. I saw some 10TB WD Elements drives on sale and figured I could use one for storage and one as a backup. Easy.
While researching the drives, however, I found an interesting forum post on ServerBuilds.net that described shucking external hard drives from their enclosures and hooking them to older server or desktop hardware. It turns out that some of these external drives are actually using whitelabeled NAS-grade disks, which is very convenient! Many of the recommended configurations run in the $150-200 range before drives, which seems much more reasonable than the prebuilt enclosure route.
The plan
The obvious choice for my enclosure would be my old pc case. It has the drive capacity, and I already own it. There are two problems though:
- The case is in great shape, and part of my justification for the new case was selling the old one.
- The main reason for the smaller case was so that the big one wasn't using floorspace
I really just wanted something like the Synology unit that I could stick on a shelf and mostly ignore. So why not stick the custom one on a shelf?
I am not a tall man.
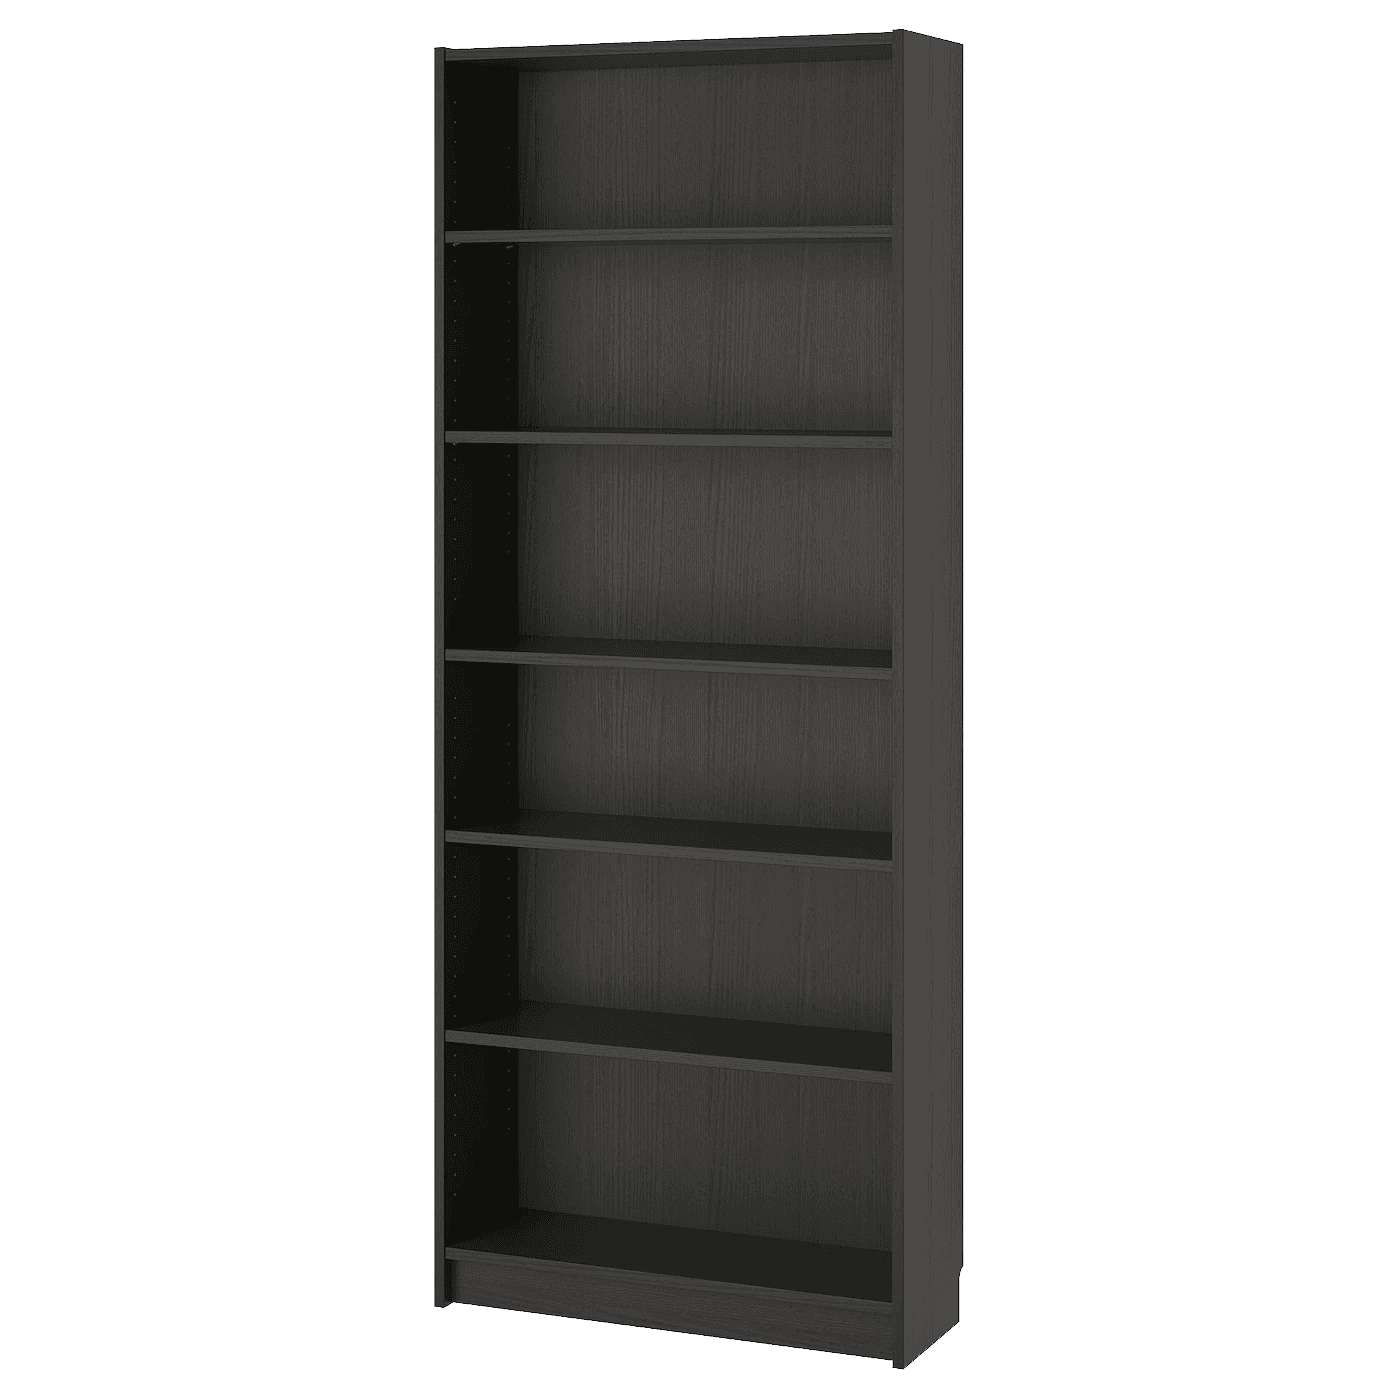
The top shelf of the Ikea bookcase next to my desk is reachable, but not very usefully so. I often find that things I've put there get forgotton or, when I do take something down, not put back away. It's the perfect spot for something stationary like pictures of loved ones or a high capacity file server.
The build
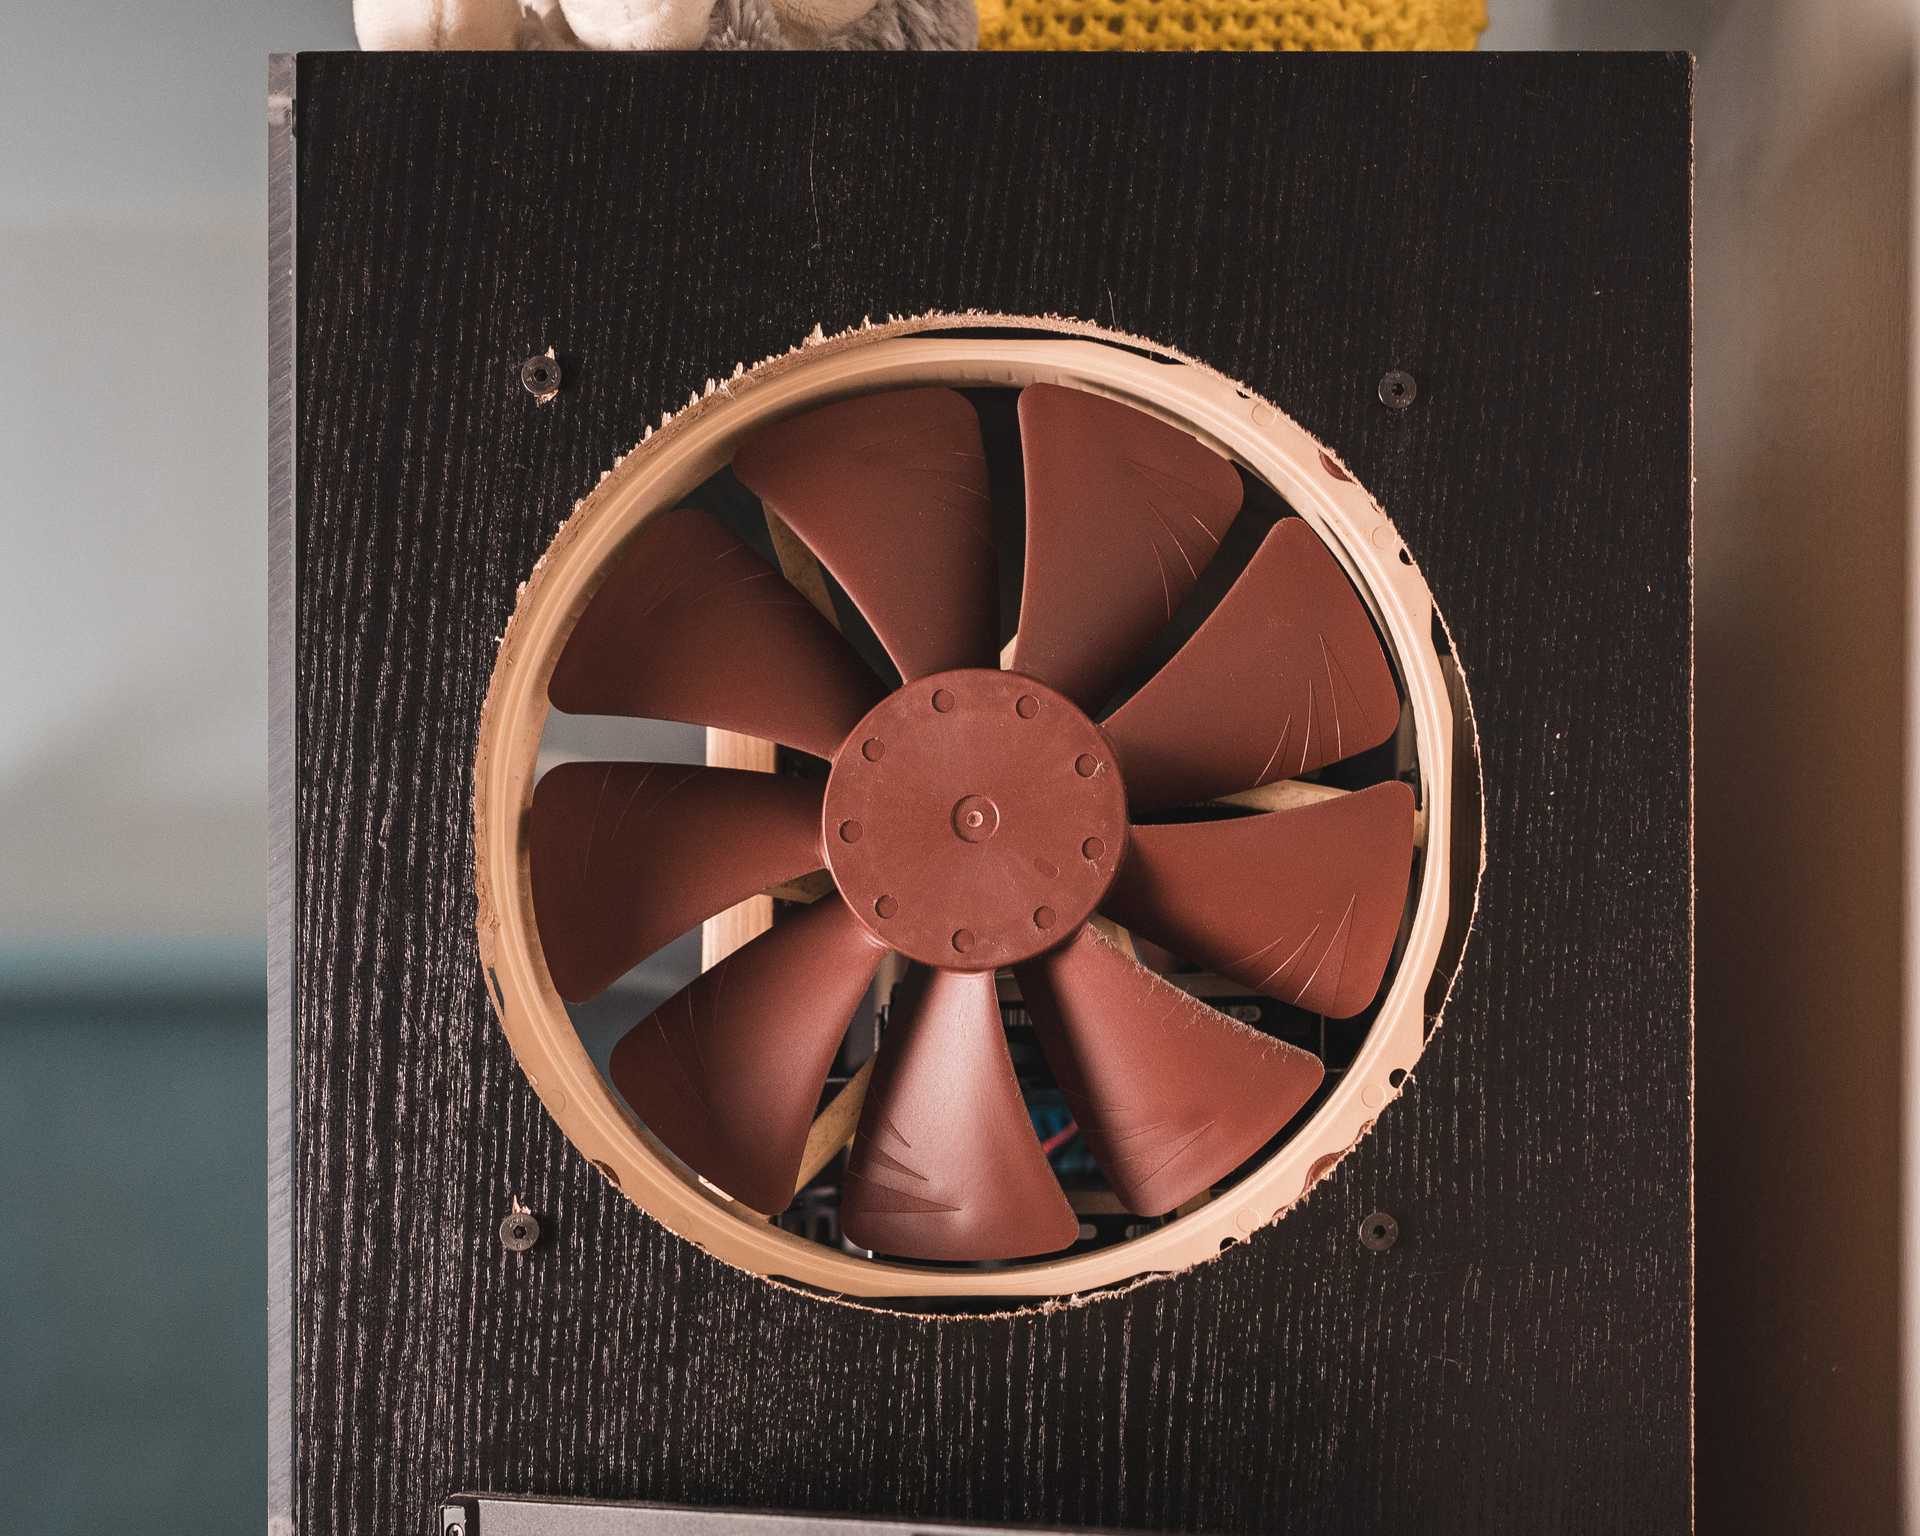
I started with case preparation. The shelves are 26.5cm deep, so I set the shelf to a position that left 24cm of vertical space for the components and fans. I'm putting one fan on each end to create a sort of wind tunnel to move air across the components. The fans I'm using are 200mm
Noctua NF-A20 PWMs, so I drew some circles on the outer walls and cut them out with a jigsaw. I don't have the steadiest hands, so it would have been more ideal to use a router or massive hole saw, but we work with the tools we have. I also drilled some holes in the front for a cover and through the sides into the shelf itself for sturdier mounting later. Each hole got a threaded m3 insert so that it can easily be taken back apart.
PSU positioned near the exhaust
To mount the hardware I removed the shelf from the bookcase and drilled some holes for motherboard standoffs. I opted to go for consumer components instead of old server kit because I already had some spare DDR3 RAM, so I went for an Intel
DQ77MK motherboard and
i5-3570S that were bundled on eBay for $60. The 700 watt power supply that I'm using is roughly 3 times beefier than I need it to be, but I already had it so may as well put it to work. It would be nice to replace the psu at some point with a lower powered modular one to reduce cable clutter
I have a total of 5 drives in the system. Three of them are the 10TB
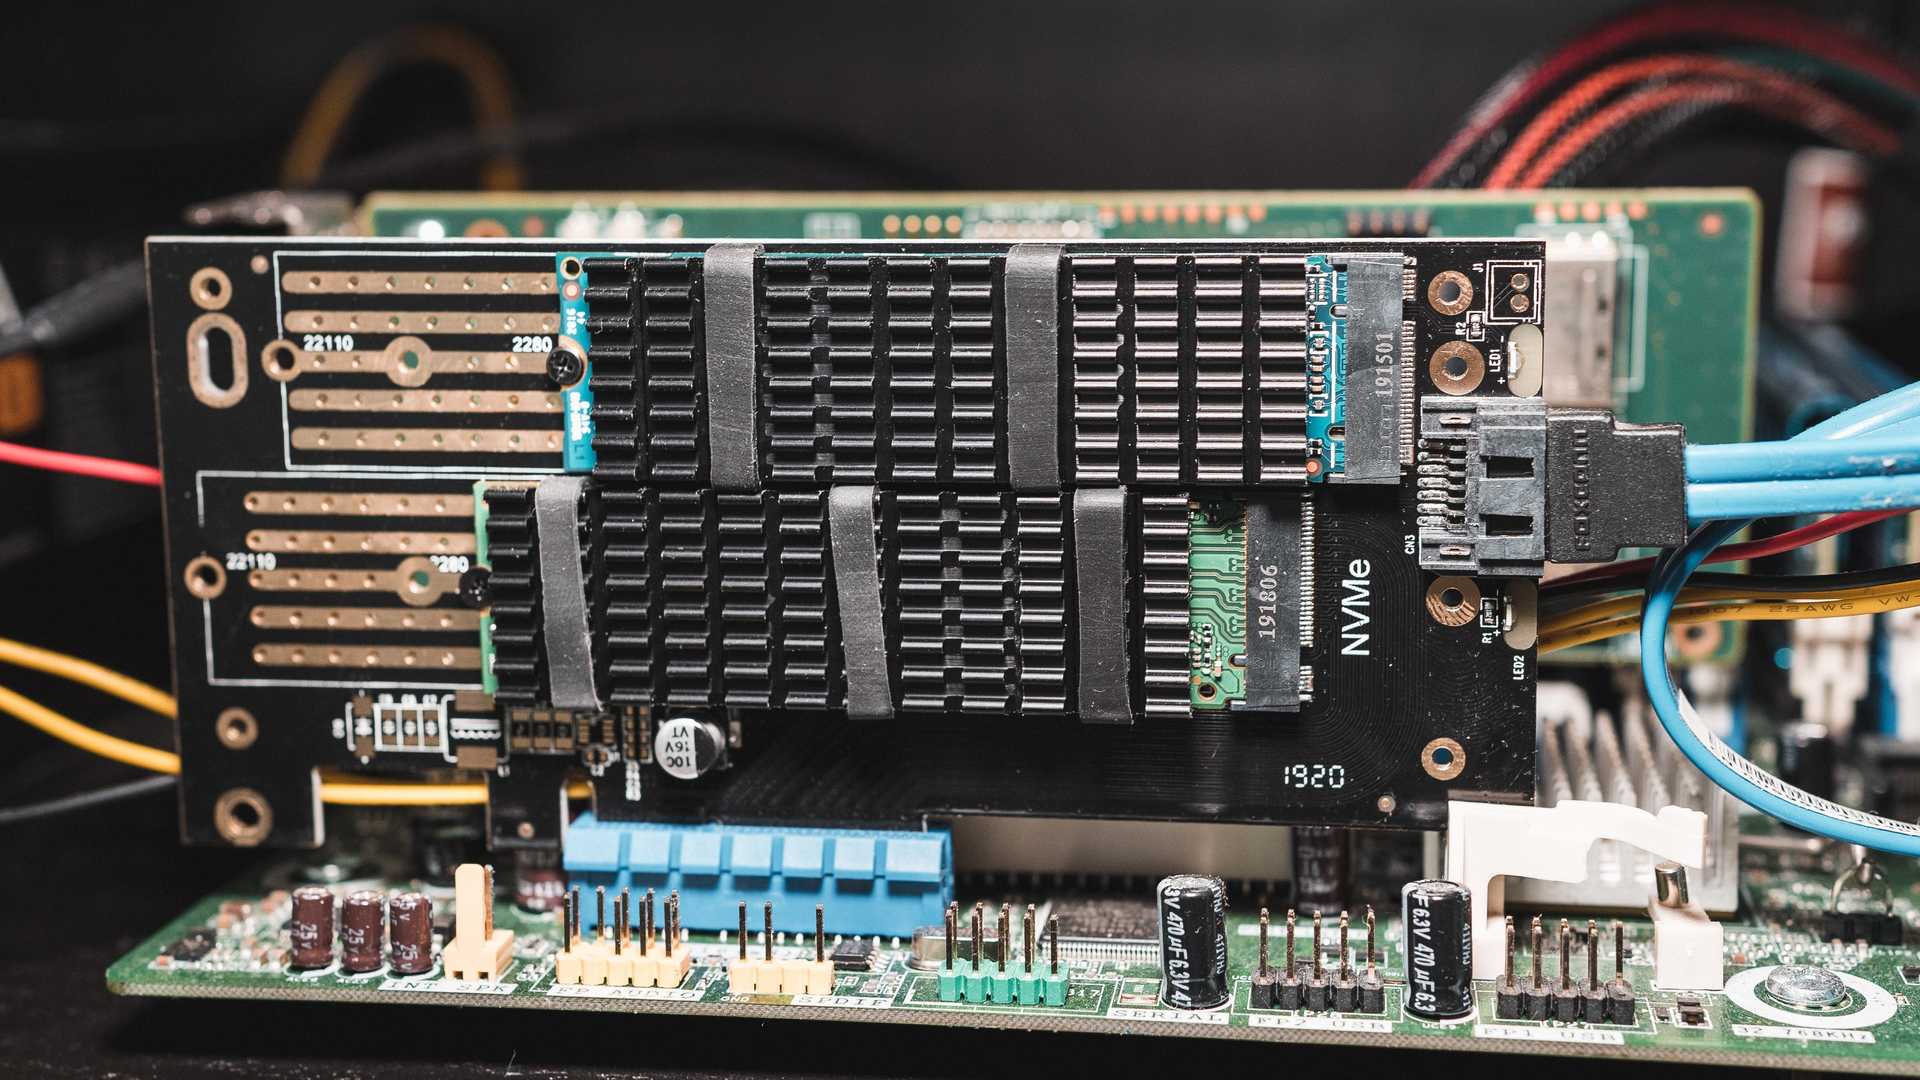
WD Elements drives, shucked, and the other two are small M.2 ssds mounted on a
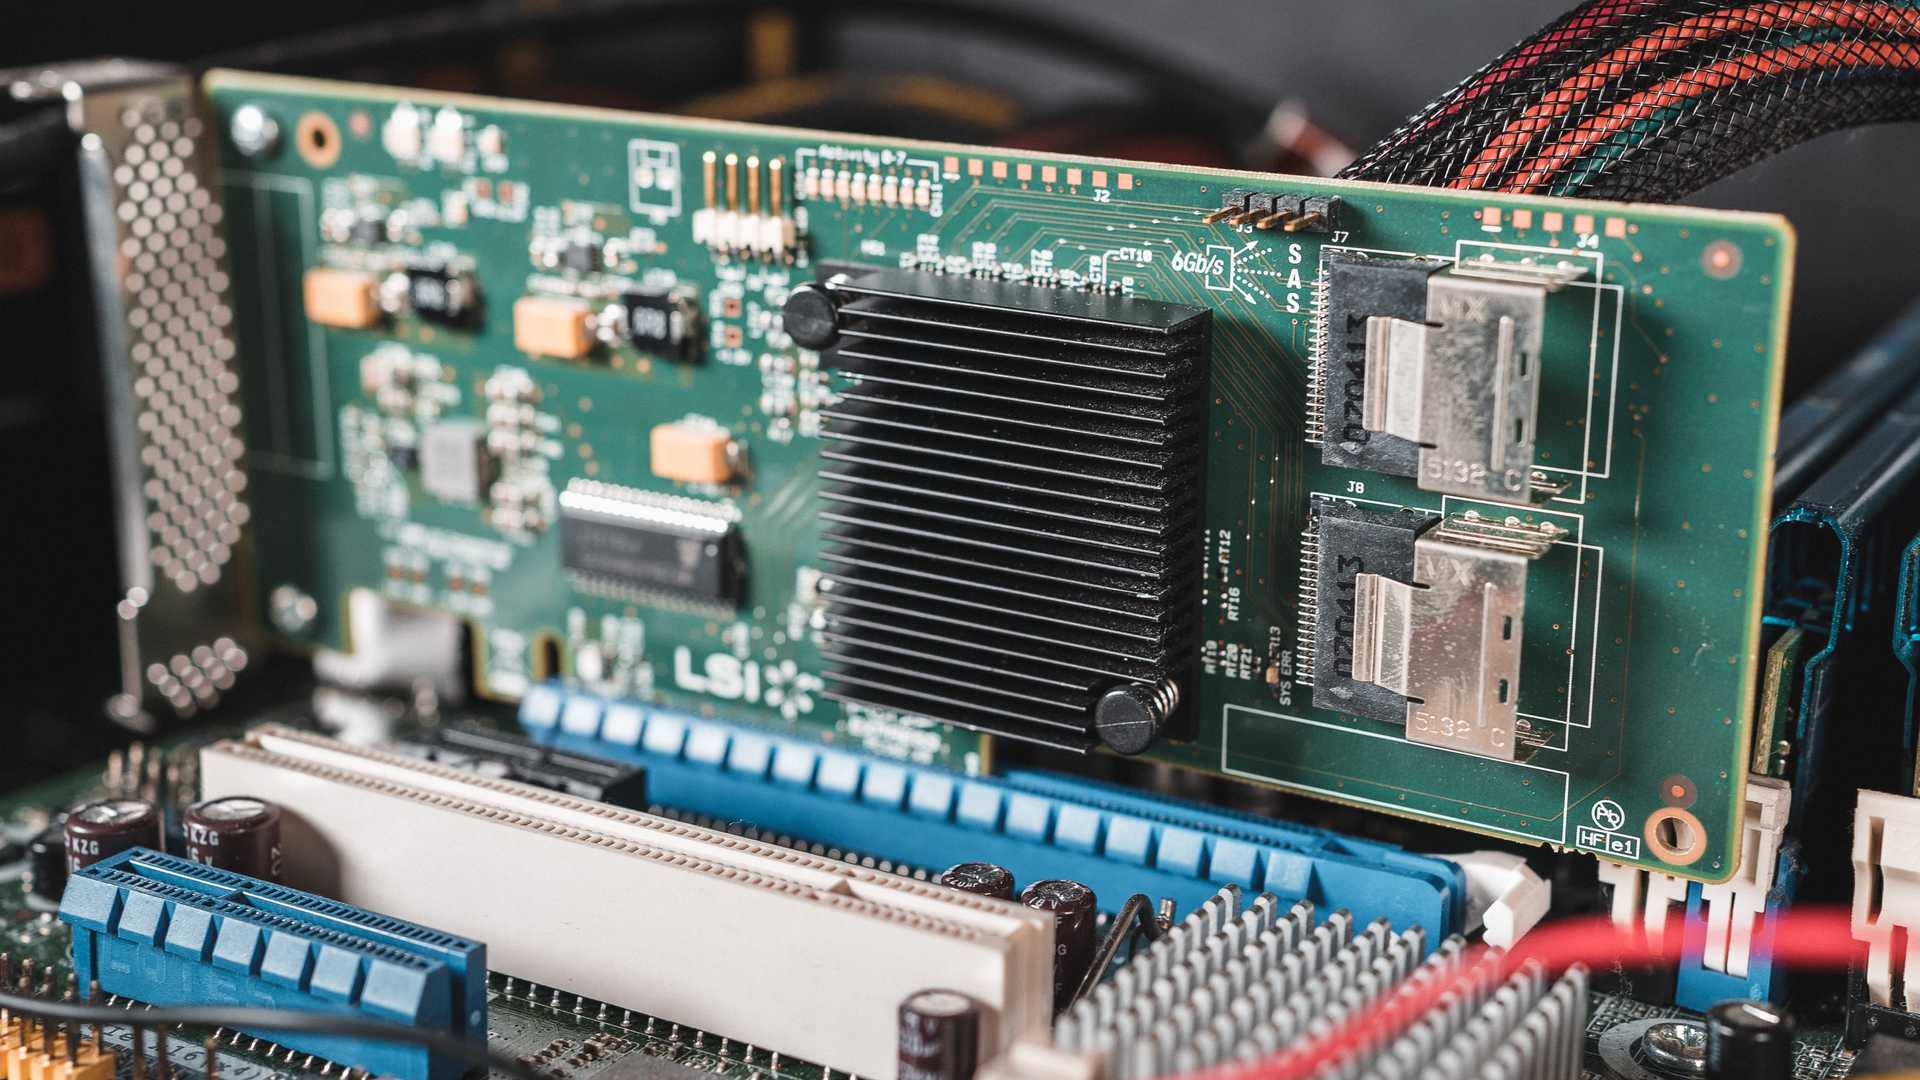
PCIE adapter card and used as a cache and a boot drive. Since this motherboard only has 2 6Gbps SATA ports, I hooked the storage drives up to a 2-port
SAS HBA PCIE card. Each of the sas ports on this card can be split out to 4 SATA 6Gbps ports, so I could add up to 8 drives through it.
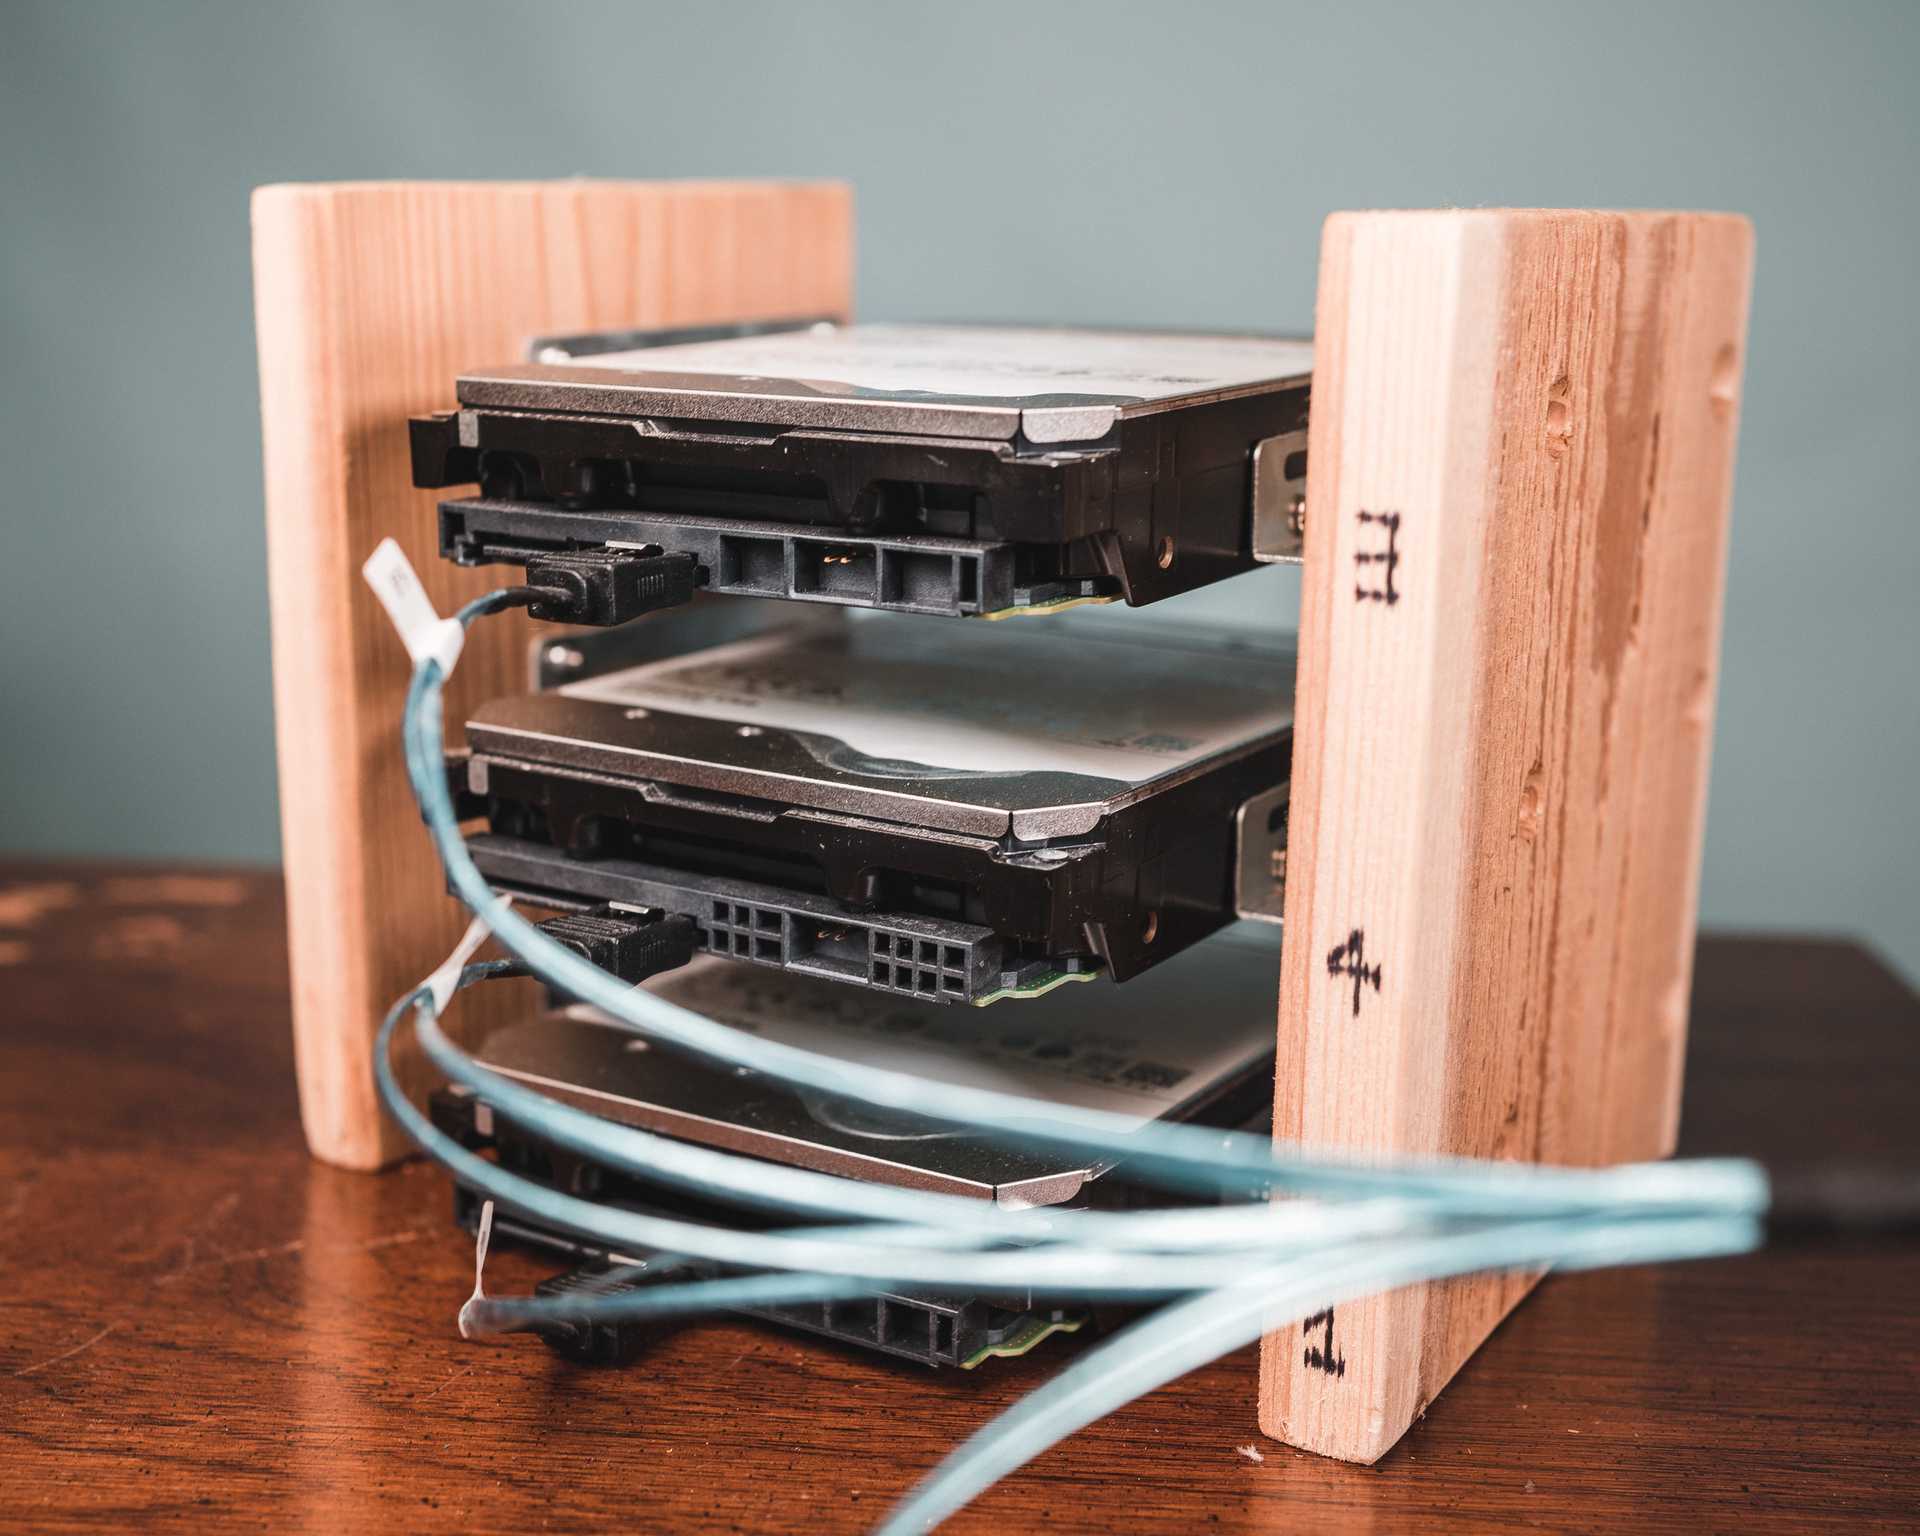
All that's really left is to mount everything. I fashioned a drive rack out of some scrap cedar planks, anti-vibration washers, and 3.5"->5.5" adapters to widen the footprint and increase stability.
Everything got fastened to the shelf, the fans were mounted on the bookcase, all that was left to do was test it and put the shelf back in. I installed FreeNAS on the boot drive (which has some honestly lovely documentation), and got my pool set up in RAID-Z1. Everything showed up, so time to clean up.
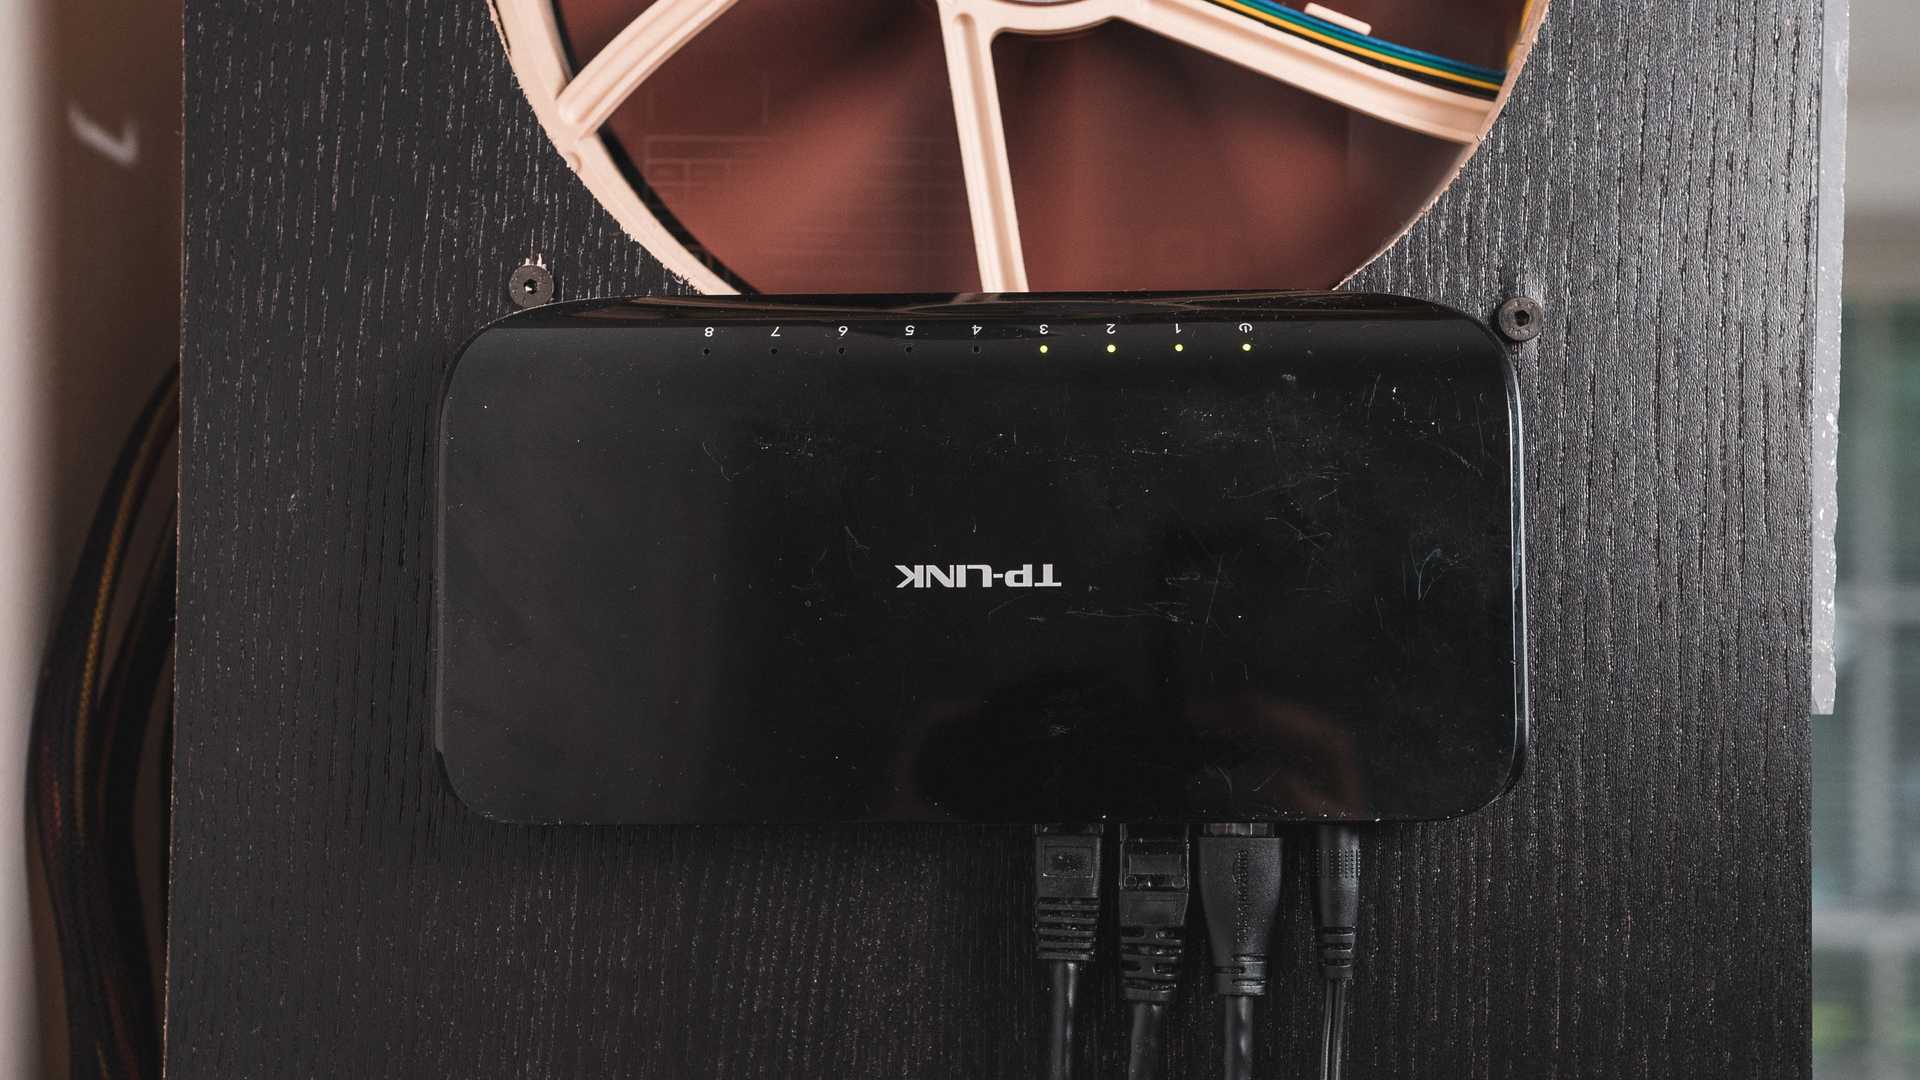
The screws securing the shelf at one end are spaced at the same distance as the mounting holes on a
cheap network switch that I have, which allows a direct 1Gbps connection between my pc and the NAS while also connecting both to the local network.
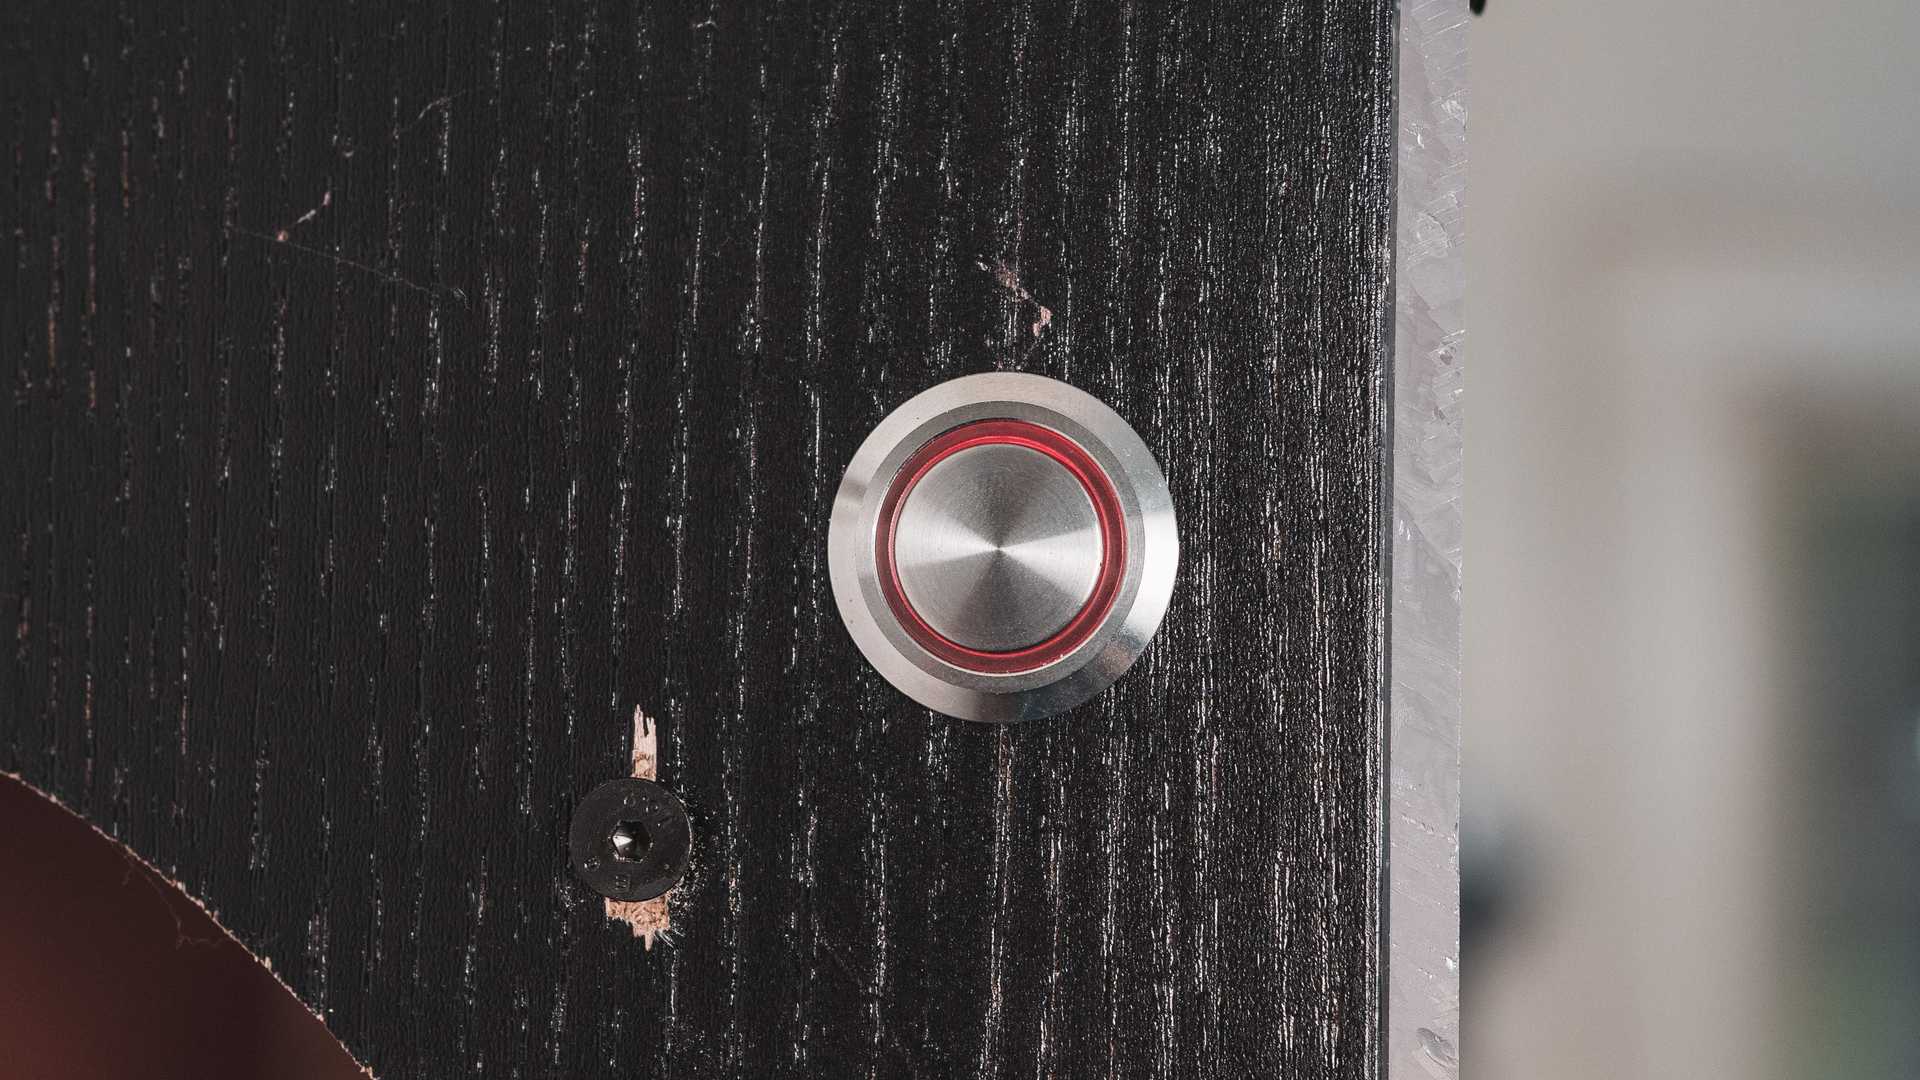
I also cut a hole for an LED power button so that it can be controlled with the cover on. The front panel is a 12x36" plexiglass sheet cut down to size, and the power/ethernet cables run out the back to give it a clean look from most angles.
Testing
The path of the righteous NAS
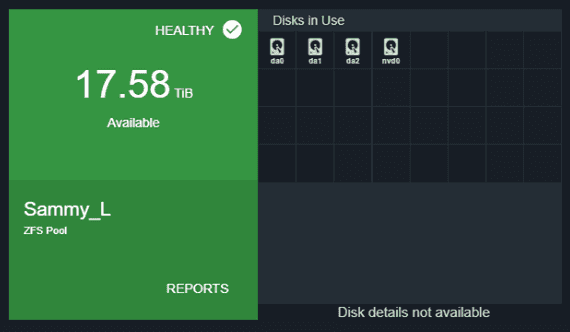
Firing up the FreeNAS control panel, I made sure that my drives and memory were all still detected, and after letting it run for about a day, I checked the temps to make sure they never spiked. Because of the data parity offered by RAID-Z1, I have about 18 usable terabytes out of the 30TB total raw capacity, which is more than enough for the time being.
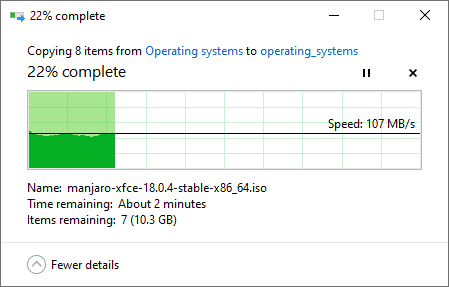
To check the performance, I tried copying a couple of OS isos from my local drive to the NAS and got a pretty consistant ~850Mbps, which is close enough to gigabit for me! Copying files from elsewhere on the network was a bit slower; I think the bottleneck there is our router.
In the future I'd like to set up a small monitor on it to display stats, alerts, and maybe pictures of my dog.
If you've done/want to do a project like this or if you have any questions or comments, please reach out!
